
Renovation Planning · 7 min read
Before the Electrician Starts
The most expensive lighting changes usually begin as small unresolved decisions. Settle the room layout, ceiling constraints and lighting roles before electrical points are fixed.
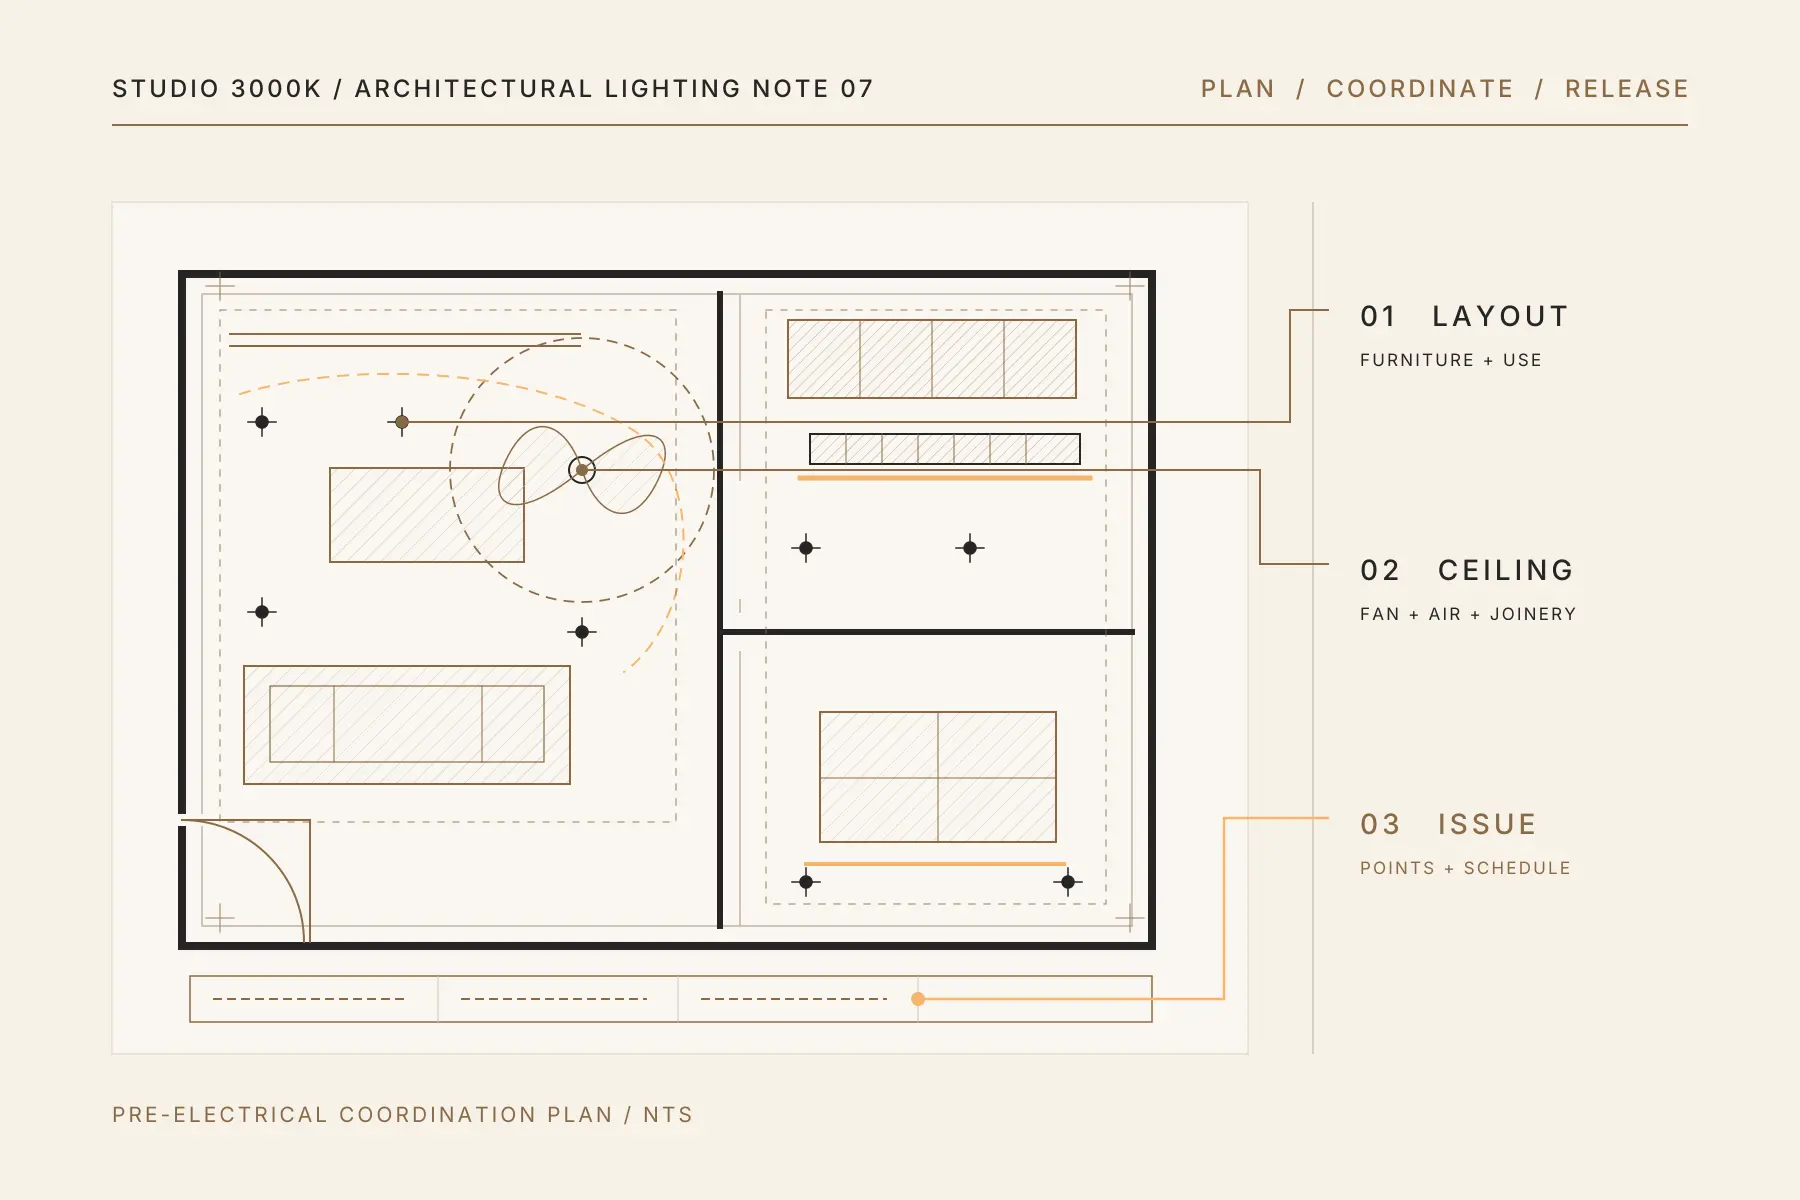
Lighting changes are easy on a drawing and disruptive once ceilings, wiring and carpentry are underway.
A pendant point that misses the dining table, a downlight inside the ceiling-fan sweep or an LED driver sealed behind finished joinery can each begin as a small unresolved decision.
You do not need every decorative fitting finalised before electrical work starts. You do need the space, ceiling and lighting plan to be settled enough for the fixed points to support the final home.
1. Confirm the furniture layout
Place the sofa, television, dining table, beds, wardrobes, desks and kitchen island on the plan with realistic dimensions.
These items determine where people sit, what they look towards and which surfaces need light. Without them, ceiling points are being positioned against an empty room rather than daily life.
If the furniture plan is still changing, identify which points need flexibility. A track, adjustable fitting or deliberately oversized allowance may be safer than a decorative point tied to an uncertain location.
For the reasoning behind this sequence, read start with the space, not the light.
2. Confirm the main ceiling constraints
Overlay the lighting plan with:
- Ceiling fans and their full blade sweep
- Air-conditioning grilles, cassettes and access panels
- Beams, bulkheads and changes in ceiling height
- Curtain tracks, pelmets and motorised-blind pockets
- Detectors, speakers and other visible ceiling services
- Structural or condominium restrictions that affect recessing
Review the ceiling as one coordinated surface. Moving a light later may be possible, but it can break alignments or place the fitting in a poorer optical position.
Our guide to planning around fans, air-conditioning and carpentry covers these conflicts in more detail.
3. Mark the task surfaces
General room lighting does not guarantee useful light where work happens.
Mark kitchen worktops, sinks, hobs, study desks, mirrors, wardrobe fronts and reading positions. Check whether the proposed light reaches each surface from a useful direction or whether the user will block it with their own body.
Where integrated task lighting is required, coordinate it with the carpentry drawings rather than leaving it as a note for site.
4. Define the lighting layers
For each room, decide which fittings provide:
- General visibility
- Task light
- Accent or wall light
- Decorative focus
- Low-level or evening light
Not every room needs all five. The purpose is to avoid making one set of downlights responsible for every activity and mood.
Once the roles are clear, the points, switching groups and product types become easier to discuss with the project team.
5. Locate decorative fittings properly
Pendant and wall-light points should relate to the final object or furniture below them.
Confirm the dining-table size and orientation, bedside-table width, mirror position and any artwork or console that a wall light is meant to support. Check the drop height, ceiling support and cable route for heavier decorative fittings.
If the final decorative piece has not been chosen, record the intended scale and function so the later selection still suits the point.
6. Draw the LED-strip sections
A line marked “LED strip” is not a complete detail.
Show the profile location, diffuser, setback, illuminated surface and accessible driver position. Confirm who is supplying the profile and who is forming the recess or joinery detail.
Review the guide to integrated LED-strip lighting before repeating a detail throughout the home.
7. Agree the useful switching groups
Lighting layers are only useful when they can be controlled sensibly.
Group lights around activities rather than arbitrary rows. The living-room general light, wall wash and decorative layer may need separate control. Kitchen task lighting should not have to operate with every ambient fitting. Bedrooms benefit from controls that are practical from the entrance and bedside.
Keep the logic understandable. The aim is a few useful lighting conditions, not a wall crowded with switches no one remembers.
The final circuit design, loading, protection and electrical installation should be confirmed by the responsible electrical professionals.
8. Confirm product dimensions and availability
The ceiling plan should reflect real products or realistic allowances.
Check cut-out sizes, recess depths, driver dimensions, trim widths, mounting requirements and the availability of the chosen colour temperature and finish. For decorative fittings, confirm lead times before the ceiling support and point are treated as final.
Changing to a larger trim or deeper fitting after ceiling works can create avoidable patching or compromise.
9. Issue one coordinated plan and schedule
Site teams should work from a clearly dated plan rather than a collection of chat screenshots and marked-up revisions.
The issue should identify the latest point locations, fitting type or code, intended role, relevant notes and any detail that still requires confirmation. A simple fixture schedule helps connect the drawing to the physical product.
Record changes formally. When a table, fan or cabinet moves, check the linked lighting point rather than treating the change in isolation.
10. Review the ceiling on site
Before points are cut or closed, walk through the rooms with the plan. Use a laser, tape or temporary mark to check key alignments and sightlines.
Site dimensions can differ from the drawing. A short review at the right moment is usually more valuable than correcting a finished ceiling.
The final layout should follow the room, furniture and activities. That depends less on last-minute product shopping and more on making the important decisions in the right order.
If your renovation is approaching electrical or ceiling works, send Studio 3000K your latest floor plan on WhatsApp to arrange a lighting consultation.