
Lighting Details · 7 min read
LED Strip Lighting Should Disappear Into the Architecture
Good linear light is usually noticed as an effect, not as a row of bright dots. The profile, diffuser, setback and access detail determine whether it feels integrated.
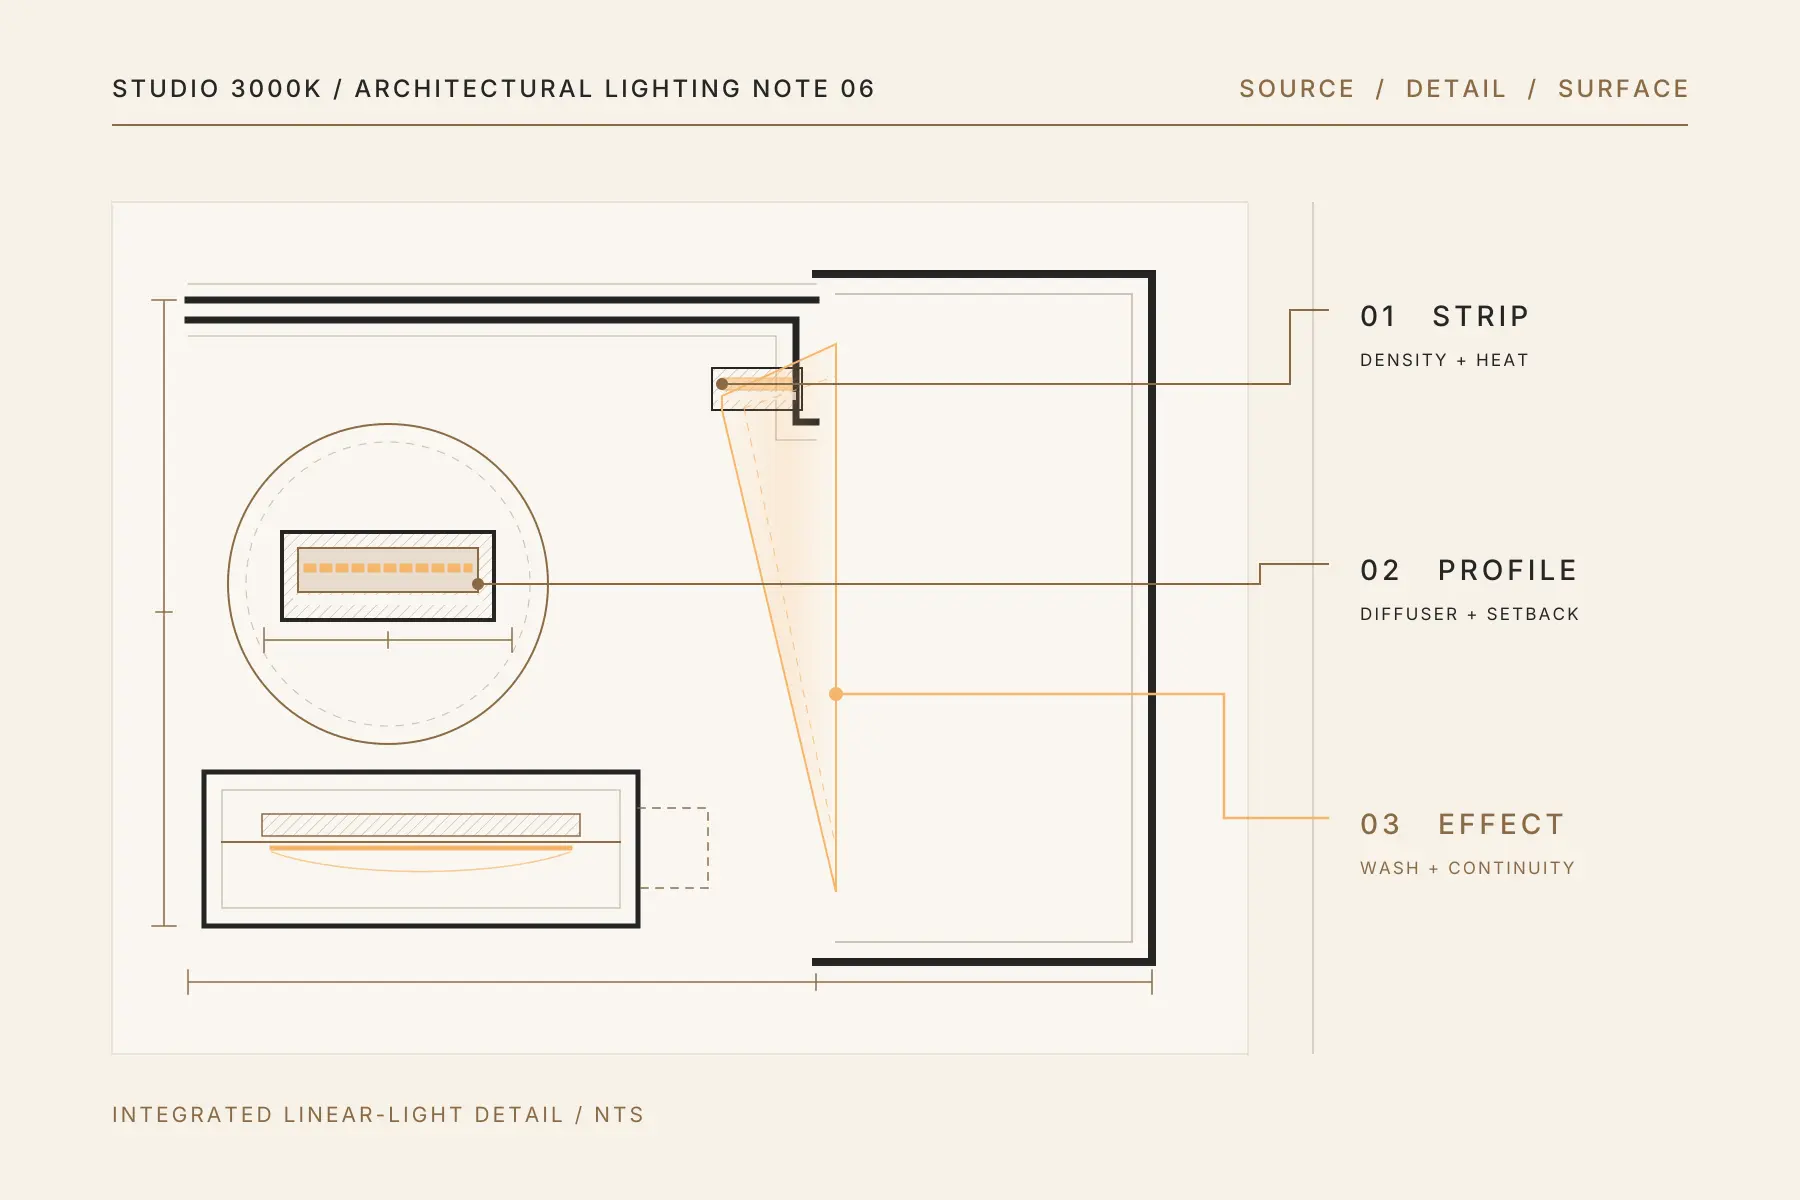
LED strip is often treated as a simple finishing touch: draw a line on the carpentry, choose a warm colour and ask the electrician to install it.
That approach can produce visible dots, broken lines, harsh reflections and drivers that cannot be reached after the ceiling or joinery is closed.
The strip is only one part of the system. The profile, diffuser, recess, surface, power arrangement and access determine whether the installation looks clean.
The result should be a clean wash or glow, not a visible row of LEDs.
Begin with the surface being lit
Decide where the light needs to land before deciding where to place the strip.
A cove may be intended to wash the ceiling. An under-cabinet strip needs to illuminate a worktop. A shelf detail may reveal objects or the back panel. A wardrobe strip needs to light clothing without shining directly into the user’s eyes.
Each effect requires a different position and setback. Moving the strip a few centimetres can change the brightness, continuity and visibility of the source.
Draw the section, not only the line on the plan. A simple section through the cove, shelf or cabinet often reveals problems that remain invisible in a reflected ceiling plan.
Choose the profile and diffuser together
An aluminium profile gives the strip a straight mounting surface and helps manage heat. The diffuser protects the source and blends the individual LEDs into a more continuous line.
It does not automatically remove every dot. The result depends on the spacing between LEDs, the depth of the profile, the distance to the diffuser and the diffuser material.
A shallow profile with a low-density strip may still show obvious points. A deeper profile or denser strip can improve continuity, but the detail must fit within the available joinery or ceiling depth.
Ask to see the proposed strip, profile and diffuser operating together. Evaluating the components separately is not enough.
Setback controls the quality of the wash
If a strip sits too close to the edge of a cove, the source may become visible from normal viewing positions. If it sits too far back, the detail may trap much of the light or create an uneven bright band.
For wall and ceiling washes, check:
- Distance from the strip to the illuminated surface
- Setback from the visible edge
- Height and angle of any shielding lip
- Surface colour, texture and reflectance
- Normal standing and seated sightlines
The correct geometry depends on the desired effect and the size of the detail. There is no universal cove dimension that works everywhere.
Output should match the application
More output is not always better.
A low-level shelf glow, worktop light and ceiling cove have different jobs. A high-output strip in a shallow reflective detail can feel harsh, while a decorative strip may be too weak to provide meaningful task light.
Compare lumen output per metre, not wattage alone. Also consider the distance to the target surface and losses through the diffuser. Dark timber and stone absorb more light than pale paint or white cabinetry.
For task areas such as kitchen worktops, evaluate the light on the surface rather than judging the brightness of the strip itself.
Long runs need proper planning
Continuous lines can show brightness loss or colour change towards the end if the run, cable size and power arrangement have not been considered properly.
The acceptable run length depends on the strip voltage, power per metre, conductor size, feed arrangement and supplier’s limits. Longer or higher-output runs may need to be fed from more than one point or divided into sections.
The final power and wiring arrangement should be confirmed with the product supplier and responsible electrician. This should happen before the ceiling and carpentry are closed, not after an uneven line appears on site.
Keep drivers accessible
Drivers and connection points should not be permanently buried inside inaccessible ceilings or sealed joinery.
Plan a discreet access location that allows maintenance without damaging completed finishes. Confirm that the space is large enough, ventilated as required and reachable after loose furniture, shelves and appliances are installed.
Plan the access panel early so it does not disrupt the finished ceiling or joinery.
This is one of the decisions to settle before the electrician starts.
Coordinate colour and control
LED strips should feel consistent with the other visible light sources. Check colour temperature, colour rendering and colour tolerance, particularly where several runs are visible together.
Warm 3000K linear light often suits living areas, bedrooms and joinery. A kitchen task strip may be more neutral depending on the wider scheme. What matters is that transitions are deliberate and the strip does not appear noticeably pink, green or yellow beside adjacent fittings.
If dimming is required, the strip, driver and control method must be compatible. Test the expected dimming range and check for flicker, sudden cut-off or audible noise before committing to a large installation.
Review one complete detail on site
Before repeating a cove or joinery detail throughout the home, build or review one representative section with the actual materials.
Look at it during the day and after dark. Check the normal seated and standing views. Confirm that the source is concealed, the line is continuous, the surface is evenly lit and the access arrangement remains practical.
A good LED-strip detail gives the intended effect and remains accessible for installation and maintenance.
If your renovation includes coves, shelves or integrated joinery lighting, send Studio 3000K the relevant plan or detail on WhatsApp to arrange a lighting consultation.