
How We Work · 6 min read
Why Lighting Samples Belong in the Space
A fitting can look convincing in a showroom and wrong at home. Testing selected samples in the intended space reveals glare, beam, colour and material response.
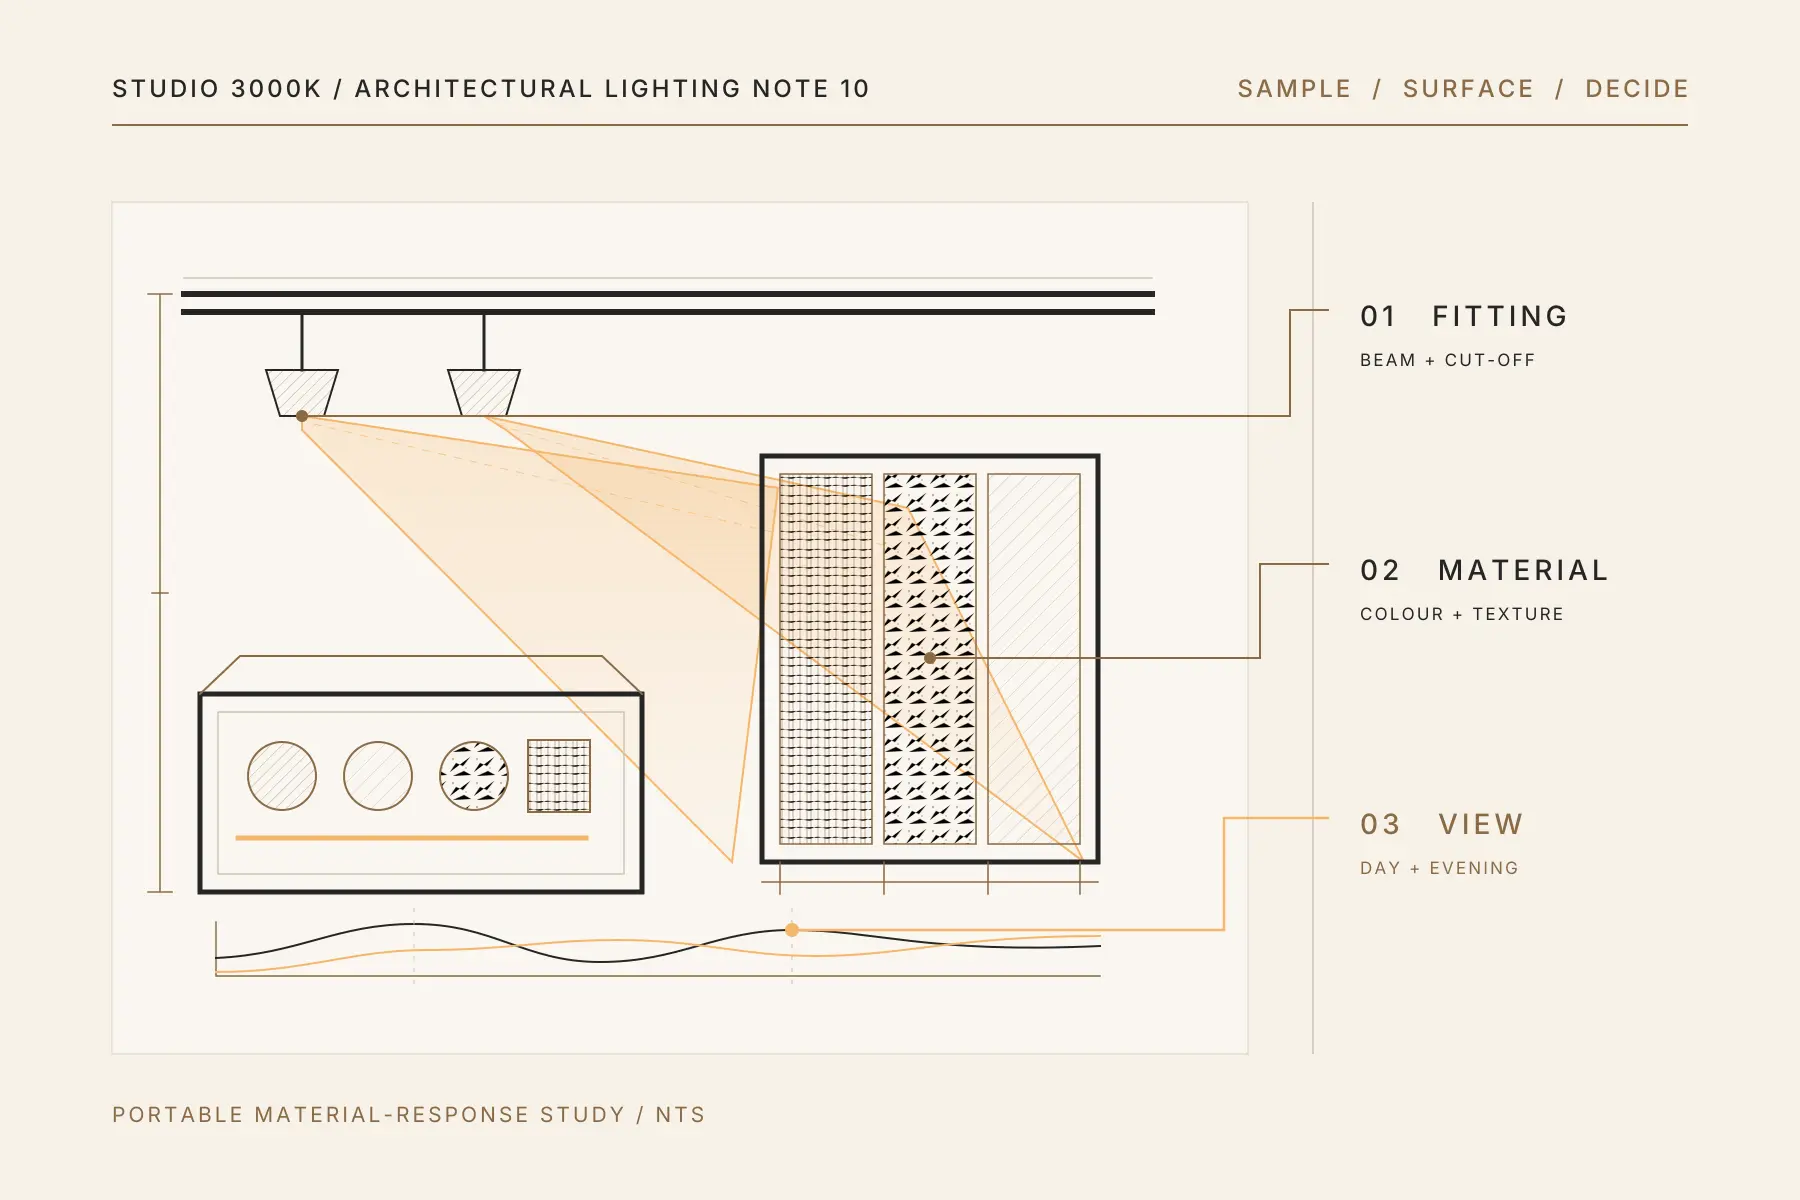
A downlight can look warm, soft and comfortable in a showroom, then feel noticeably different inside the home.
The ceiling height has changed. The walls reflect light differently. Timber, stone and fabric alter the colour balance. The normal viewing position may reveal the bright source from the side.
Specifications help narrow the options, but the real test is how the light works in the space. Seeing a small number of working samples against the actual room and materials can resolve questions that product photographs cannot.
Showrooms create their own lighting conditions
A showroom contains many illuminated displays, reflective surfaces and competing sources. The ambient light can make one sample appear softer or less bright than it will at home.
The fitting may also be mounted at a different height or demonstrated against a generic white wall. That says little about how the beam will behave on dark timber, textured stone or a compact condo ceiling.
Showroom viewing is useful, but it needs the context of the actual room.
A sample reveals the beam, not only the trim
Most product photographs focus on the visible finish. The more important information appears after the fitting is switched on.
Look at:
- Width and softness of the beam
- Brightness at the centre and edge
- Spill light outside the stated beam
- Visibility of the source from the side
- Shadows created on faces and objects
- Reflections on screens, glass and polished surfaces
Move around the sample. A fitting that feels comfortable from directly below may reveal glare from a seated position.
For the specification checks behind the comparison, see how to choose a downlight.
Materials can change the apparent colour
The same 3000K source can appear different beside cream paint, grey stone, warm walnut or a coloured fabric.
Light surfaces return more light into the room. Dark surfaces absorb it. Glossy finishes create highlights, while textured materials reveal more depth when the light reaches them from an appropriate direction.
Colour rendering also becomes easier to judge with real materials. Compare timber warmth, food, skin tones, artwork and clothing rather than looking only at the light source.
If the renovation materials have been selected, bring representative samples to the comparison or test the lights beside the installed finishes. Our explanation of what 3000K really means gives the wider colour-temperature context.
Test the normal viewpoints
The most useful test position is where the light will be experienced.
For a living room, sit at sofa height and look towards the proposed ceiling positions and television wall. For a bedroom, consider the view from the pillow. At a dining table, check whether the source sits in the line of sight across the table. In a kitchen, place the sample so the beam reaches the worktop from the intended direction.
These viewpoints reveal glare and reflections that are easy to miss while standing beneath a display.
Compare fewer variables at one time
Compare two or three fittings intended for the same role. Keep the colour temperature and approximate output similar when evaluating beam and glare. Then hold the fitting constant when comparing 3000K, 3500K or 4000K.
Switch off unrelated sources where practical. Give your eyes a moment to adjust before judging brightness and colour.
Trying to compare ten different products, beam angles and colour temperatures at once usually creates confusion rather than confidence.
Review during the day and evening
Daylight can make artificial light appear less warm and reduce the visible contrast of a beam. After sunset, the same fitting may become the dominant source in the room.
For living, dining and bedroom decisions, the evening view is especially important because that is when the lighting will do most of its work. Kitchens and studies should also be checked under the conditions in which they will normally be used.
Where time allows, look at the shortlisted sample in both conditions.
What a portable demonstration can and cannot show
A mobile sample kit can demonstrate colour temperature, beam character, glare control, trim finish and material response. It can make differences between shortlisted fittings much easier to understand.
It cannot reproduce the complete installed scheme. The final result still depends on exact positions, mounting height, quantity, aiming, control and reflected light from the finished room.
The demonstration should support a floor-plan-based decision, not replace the lighting plan.
At Studio 3000K, the mobile suitcase demonstration follows the initial plan review and Fit Call as part of the paid planning stage. The purpose is to test relevant options against the customer’s space and finishes before the product list and room-by-room layout are finalised.
Prepare for the review
Have the latest floor plan, furniture layout and ceiling information available. Gather the main paint, timber, stone, fabric and metal finishes where possible. Identify the rooms and decisions causing the most uncertainty.
The aim is not to recreate a showroom at home. It is to answer a focused set of questions with the actual context in front of you.
Review the light, material and viewing position together. This reduces the risk of choosing a fitting by appearance alone.
If you would like to review relevant lighting samples in context, arrange a lighting consultation with Studio 3000K on WhatsApp.